
Use Tool Proxy
Use Tool Proxy with your provider after creating a connection, authorizing a user, and setting up a connected account.
Use this page to call a custom provider through Tool Proxy after the provider, connection, and connected account are set up.
The provider definition controls how Scalekit authenticates the upstream API. Your application still uses a connection, a connected account, user authorization, and actions.request(...).
Bring your own provider does not introduce a separate runtime model. You still use the standard Agent Auth flow:
- Create a connection for the provider in Scalekit Dashboard
- Create or fetch the connected account for the user
- Authorize the user if the connected account is not active
- Call the upstream API through Tool Proxy
Tool Proxy uses the connected account context to inject the correct authentication details before routing the request to the upstream API.
Prerequisites
Section titled “Prerequisites”Make sure:
- The provider exists and is configured with the right auth pattern
- A connection is configured for the provider
- The connected account exists
- The user has completed authorization
Once these pieces are in place, you can call the upstream API through Tool Proxy.
In the request examples below, path is relative to the provider proxy_url. connectionName must match the connection you created, and identifier must match the connected account you want to use for the request.
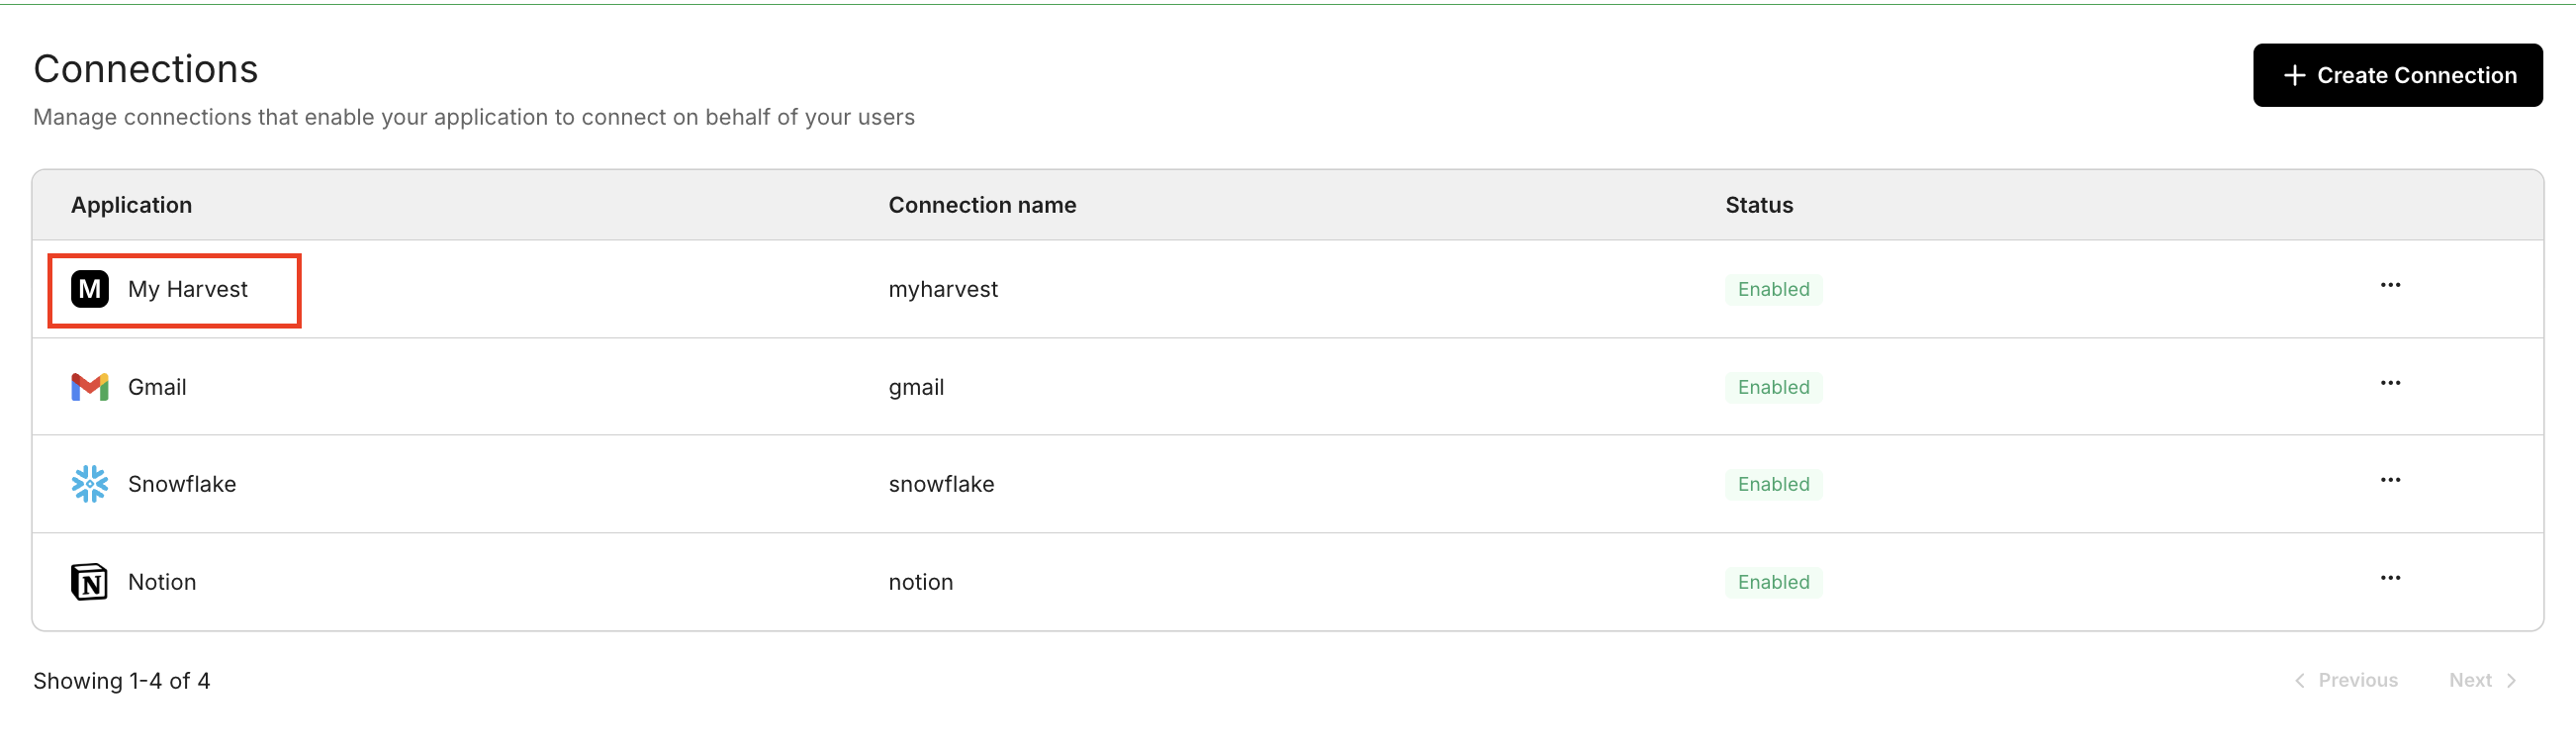
After you create the provider, create a connection for it in the Scalekit Dashboard:
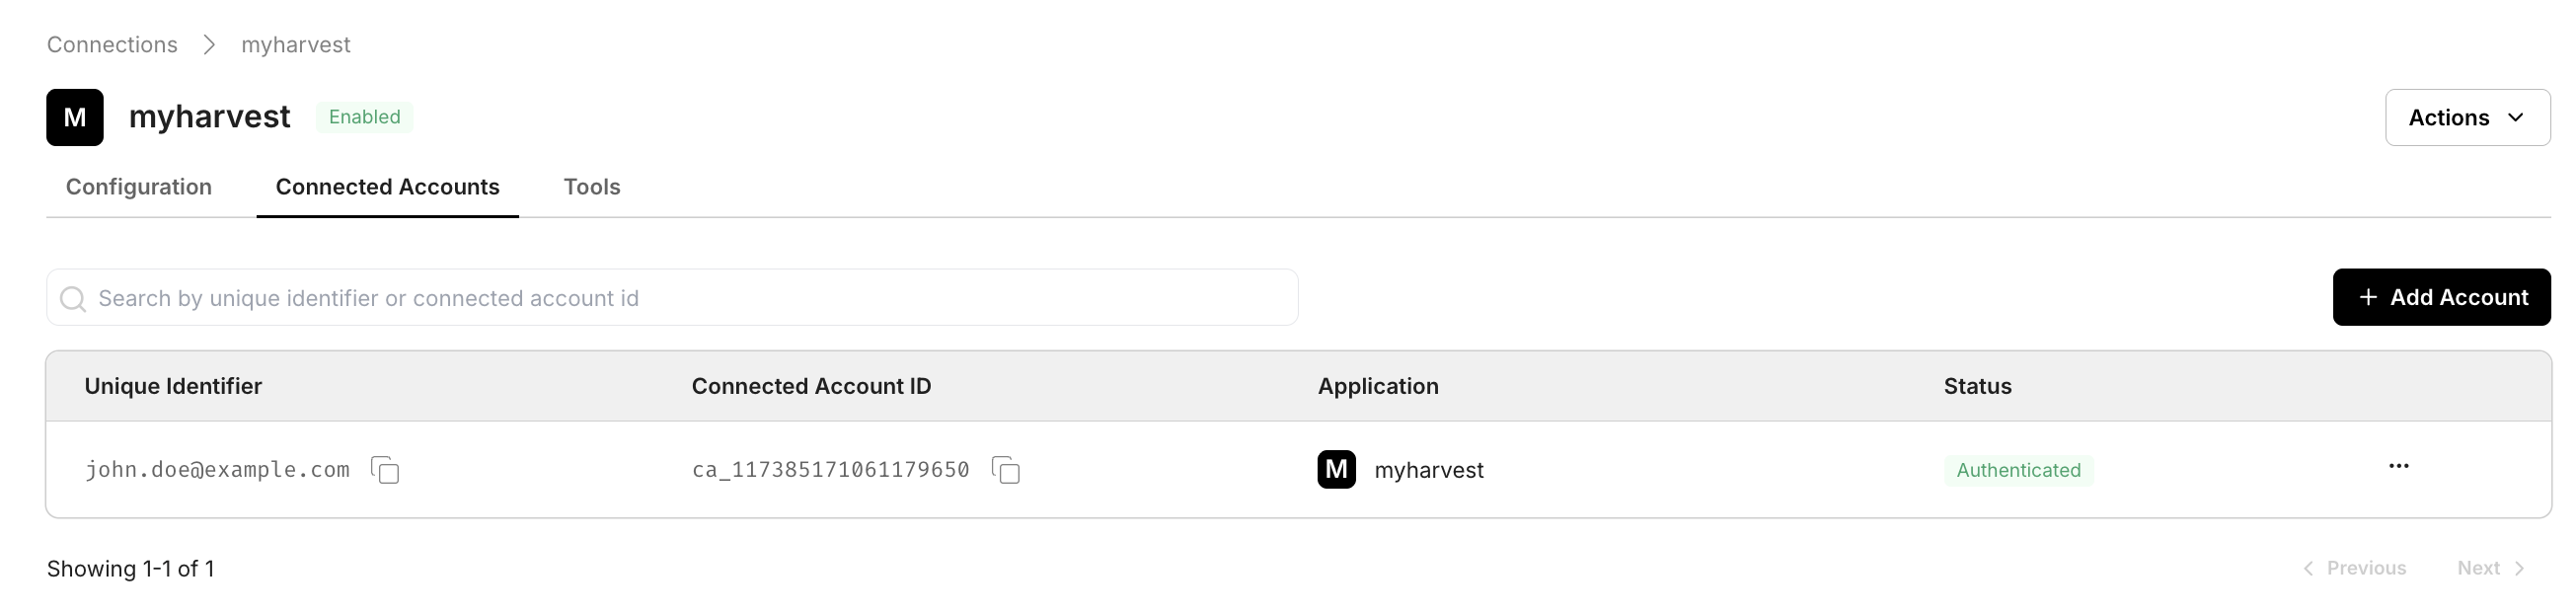
After the user completes authorization, the connected account appears in the Connected Accounts tab and is ready for proxy calls:
Proxy API calls
Section titled “Proxy API calls”import { ScalekitClient } from '@scalekit-sdk/node';import 'dotenv/config';
const connectionName = 'your-provider-connection'; // get your connection name from connection configurationsconst identifier = 'user_123'; // your unique user identifier
// Get your credentials from app.scalekit.com → Developers → Settings → API Credentialsconst scalekit = new ScalekitClient( process.env.SCALEKIT_ENV_URL, process.env.SCALEKIT_CLIENT_ID, process.env.SCALEKIT_CLIENT_SECRET);const actions = scalekit.actions;
// Authenticate the userconst { link } = await actions.getAuthorizationLink({ connectionName, identifier,});console.log('Authorize provider:', link);process.stdout.write('Press Enter after authorizing...');await new Promise(r => process.stdin.once('data', r));
// Make a request via Scalekit proxyconst result = await actions.request({ connectionName, identifier, path: '/v1/customers', method: 'GET',});console.log(result);import scalekit.client, osfrom dotenv import load_dotenvload_dotenv()
connection_name = "your-provider-connection" # get your connection name from connection configurationsidentifier = "user_123" # your unique user identifier
# Get your credentials from app.scalekit.com → Developers → Settings → API Credentialsscalekit_client = scalekit.client.ScalekitClient( client_id=os.getenv("SCALEKIT_CLIENT_ID"), client_secret=os.getenv("SCALEKIT_CLIENT_SECRET"), env_url=os.getenv("SCALEKIT_ENV_URL"),)actions = scalekit_client.actions
# Authenticate the userlink_response = actions.get_authorization_link( connection_name=connection_name, identifier=identifier)# present this link to your user for authorization, or click it yourself for testingprint("Authorize provider:", link_response.link)input("Press Enter after authorizing...")
# Make a request via Scalekit proxyresult = actions.request( connection_name=connection_name, identifier=identifier, path="/v1/customers", method="GET")print(result)The request shape stays the same regardless of whether the provider uses OAUTH, BASIC, BEARER, or API_KEY. The provider definition controls how Scalekit authenticates the upstream call.